OAuth2 Authorization Block
OAuth 2.0 is a widely used authorization framework that enables secure access to protected resources without exposing user credentials. It works through access tokens obtained via different grant types like Client Credentials, Authorization Code, or Refresh Tokens.
Voiden supports OAuth 2.0 authentication, allowing seamless integration with modern APIs and identity providers such as Google, GitHub, and Microsoft.
Try it Out
-
In your Voiden file, type
/auth-oauth2and press Enter to create an Authorization Digest Block.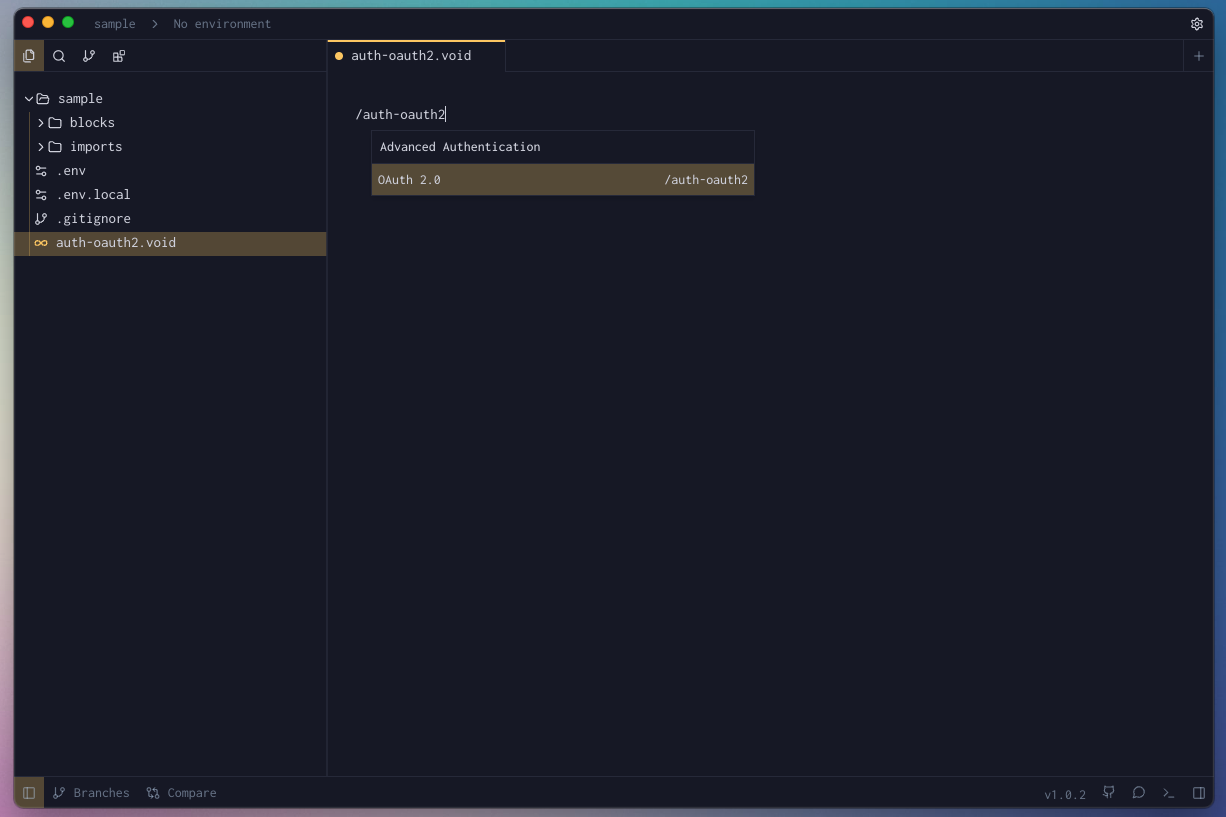
-
Fill the required params for the block.

-
Hit Cmd + Enter (Mac) or Ctrl + Enter (Windows/Linux) to run the request
or click the green Play button in the toolbar. -
Check the Response Panel
Tips & Gotchas
OAuth2 is powerful, but it has a few moving parts that can catch you off guard. Here's what to keep an eye on so your integration runs smoothly from the start.
Callback URL & Port Whitelisting
Voiden listens for the OAuth redirect on http://localhost:9090/callback by default. You can point it to a different port if needed — just make sure the port isn't already occupied by another process, or the auth flow will fail silently.
More importantly, whatever URL you use must be registered in your OAuth provider's dashboard under "Allowed Redirect URIs" (or equivalent). Providers like Google, GitHub, and Auth0 are strict about this — even a trailing slash mismatch will cause a rejection. Double-check that the URL in Voiden and the one in your provider's settings are identical.
The Discover Button
Setting up auth_url, token_url, and scope manually can be tedious. If your provider supports OpenID Connect, you can skip all that.
The Discover button — available in Authorization Code and Implicit flows — lets you enter just the provider's root URL (e.g., https://accounts.google.com/) and have Voiden look up the rest automatically. It reads the provider's published configuration and populates all the required fields for you in one click.
Advanced Settings
Collapsed by default, these settings give you fine-grained control over how the OAuth2 block behaves. You won't always need them, but when you do, they matter:
| Setting | Default | What it does |
|---|---|---|
add_token_to | Header | Determines where the access token is attached to outgoing requests. The vast majority of APIs expect it in the Authorization header. |
header_prefix | Bearer | The word that appears before the token in the header (e.g., Authorization: Bearer <token>). Change this only if your API explicitly requires a different prefix. |
variable_prefix | oauth2 | Used to namespace the stored token variables. Essential when working with multiple OAuth2 providers — give each one a unique prefix to prevent them from colliding. |
client_auth | Credentials in Body | Controls how client_id and client_secret are sent during the token exchange. Some providers want them in the request body; others prefer a Basic Auth header. Your provider's docs will tell you which. |
extra_params | — | Lets you pass additional parameters in the token request (formatted as key=value&key2=value2). Useful for providers that require non-standard fields like audience or resource. |
Auto-Refresh
Nobody wants to manually re-fetch a token mid-session. Enable Auto-Refresh via the checkbox in the block and Voiden takes care of it — silently renewing your access token before each request goes out.
That said, a few things need to line up for it to work:
- Your provider must return a
refresh_tokenduring the initial token exchange. Without one, there's nothing to refresh with — the feature will stay inactive regardless of the checkbox state. - Token configuration is locked in at the point you click Get Token. Voiden saves a snapshot of settings like
token_urlandclient_idat that moment. If you edit those fields afterwards, the snapshot stays unchanged — hit Get Token again to update it. - Refreshes happen invisibly in the background. If you want to confirm everything is working, open the dev console and watch for
[OAuth2 Auto-Refresh] Token refreshedentries appearing before each request.
120-Second Timeout
After clicking Get Token, you have 2 minutes to complete the browser login. If the window closes before you finish, just click Get Token again to retry.
Variable Prefix Collisions
Each OAuth2 block stores its tokens using the variable_prefix as a namespace. If two blocks share the same prefix, the second one will overwrite the first one's stored tokens every time it runs — and you'll end up with authentication errors that are difficult to trace back to the cause.
To avoid this entirely, assign a unique variable_prefix to every OAuth2 block in your workspace. Something like google, github, or auth0 works well and keeps things organized.
Block Parameters
| Parameter | Value | Description |
|---|---|---|
| access_token | string | The token issued by the authorization server after successful authentication. It grants access to protected resources on behalf of the user or application. |
| token_type | string | Specifies the type of token issued. Commonly "Bearer", which means the token should be sent in the Authorization header using the Bearer scheme. |
| header_prefix | string | The prefix added before the token in the request header. For example, with a Bearer token type, the header becomes Authorization: Bearer <access_token>. |